How to Make a Realistic Antler Headband

First, let me apologize for how terrible my step-by-step images are for this tutorial. I made this headband for a costume many years ago and was something I decided to do very last minute for my blog at the time.
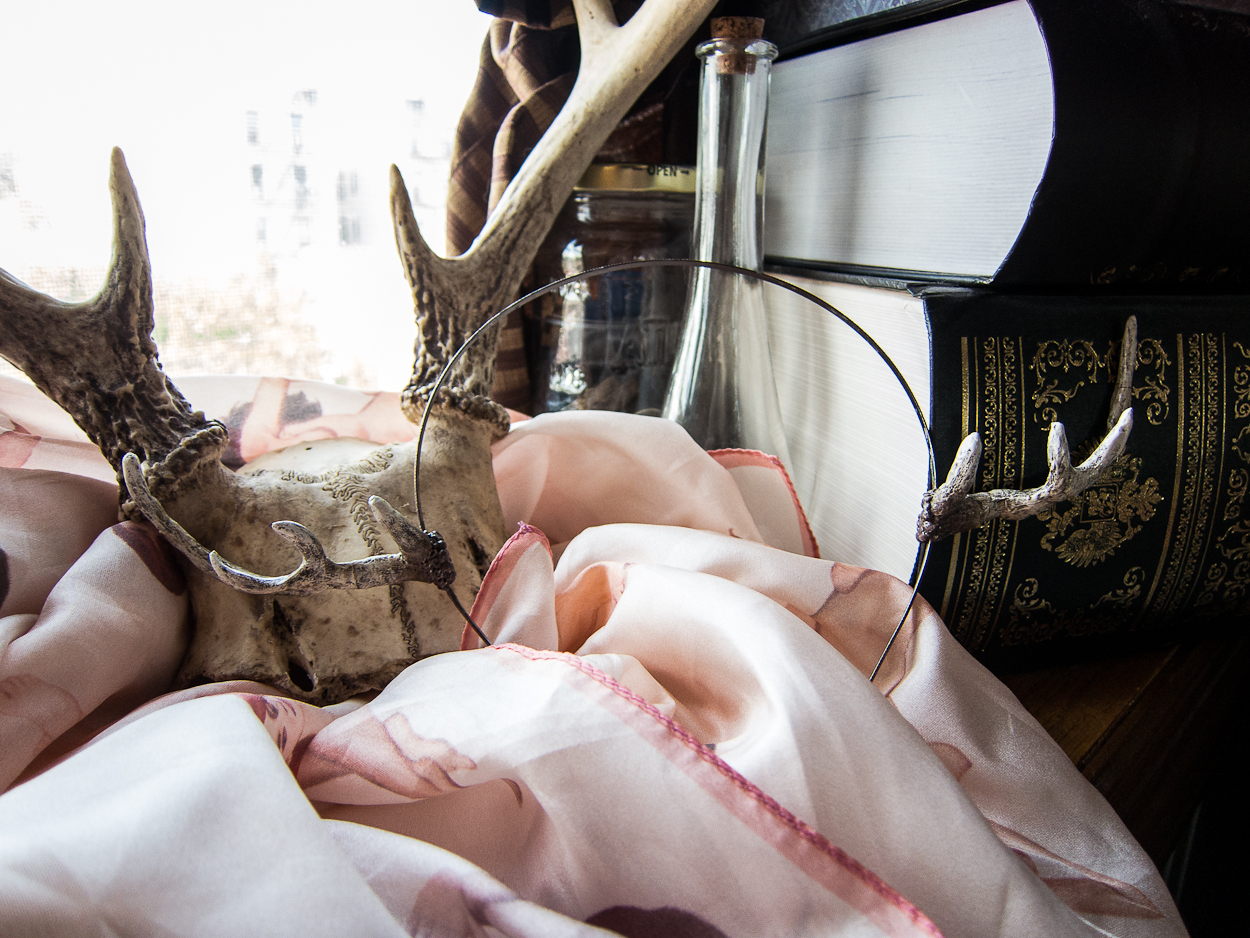
Thankfully, I got some pretty sweet photos of the end product with our professional camera. Maybe someday I’ll make another one and photograph the process with one of our good cameras but, for now, these will have to do.
So, don’t let the bad photos deceive you, the end result is well worth the effort!
Materials
Pliers
An image of antlers—or the real thing—for reference
Wire cutters (or scissors that are strong enough to cut wire, just keep in mind it could damage your scissors)
Craft Wire
Sturdy headband, preferably metal
Clay
Modeling tools for details—if you don’t have tools, search your kitchen for similar items!
Hot glue gun
Black, brown, and white paint (preferably acrylic)
Paint varnish

Create a Skeleton
Begin by creating a skeleton of your antlers out of wire, use your pliers to wrap the metal around itself. You can wrap the wire with your hands, but it might hurt your fingers after a while.
I used a pair of real antler and a photo I took of them as a reference, to keep my antlers as crealistic as possible.
Make sure you wrap the base of your antlers around the headband so that the sculpture is part of the headband and not something you have to glue on. Trust me, trying to glue something like this to a headband is no easy and usually ends up falling off and breaking.

Secure the Skeleton
Once you have completed both or your antler skeletons, carefully move them along the headband to your desired location. If you’re careful, you can try on the headband to make sure the antlers are where you want them. Just be carful, the wire may be sharp.
Once they’re in the desired location, secure them with a little hot glue around the base.

Sculpt the Antlers
Add clay to your skeletons and start sculpting. I used water based clay so I could keep the clay moist while I sculpted. You can also use baking clay if you prefer, just make sure your headband is made of metal, otherwise it will melt in the oven.

Add Detail
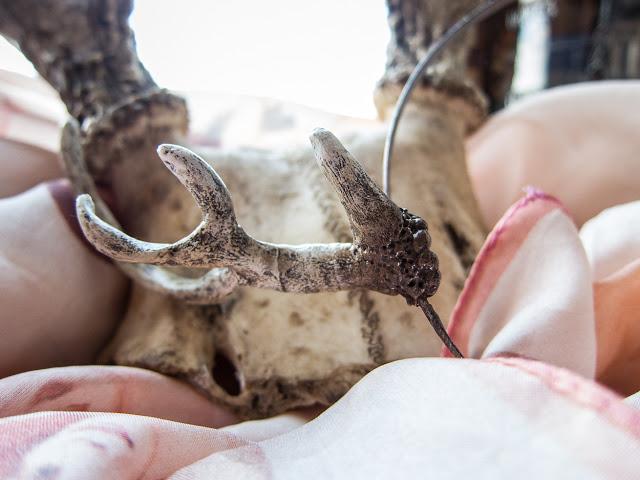
Antlers without grooves and bumps and holes just look like lumps of clay, so don't forget the details. Use your reference image (or real antlers if you have them!) to keep the details as realistic as possible.
If you don’t have sculpting tools, try using household items like a toothpick and tin kitchen knife or your fingernail!
I used a wire pipe cleaner sculpting tool to brush up and down to antlers to create the bone lines. Antlers are bones, so don’t be afraid to add details that look like cracks and fractures.
An antler’s base is wider than the rest as this is where they connect to the stag’s head. They also tend to have a very distinct band raised along the edges where the antlers meet the skull. To mimic this, I rolled several little balls of clay and placed them along the bottom. Then, using a pointed sculpting tool, I pitted the area around the base.
Let your sculpture dry over night or by baking it if you used Sculpey.

Paint
The key to realistic model painting is layers. Start by coating the antlers with a layer of black for the shadow. Once it has dried, heavily dry brush a layer of brown all the way up and down the antlers.
Dry brushing is a great technique to add depth to any sculptures because it emphasizes the shadows. In my wand painting tutorial, I explain how dry brushing works in a little more detail.
Next, mix some white into your brown to make it lighter and dry brush another layer. Lighten and re-dry brush a few layers of brown to really give your antlers a weathered, boney look.
Lastly, dry brush your white layer. To make your antlers more realistic, dry brush more heavily along the ends of your horns and less around the base. This creates and ombre that is more close to how antler bones age in nature. Let your paint dry.
Finally, once your antlers are dried, add a layer of varnish to seal the paint and keep any moisture out of the sculpt. Let it dry over night